
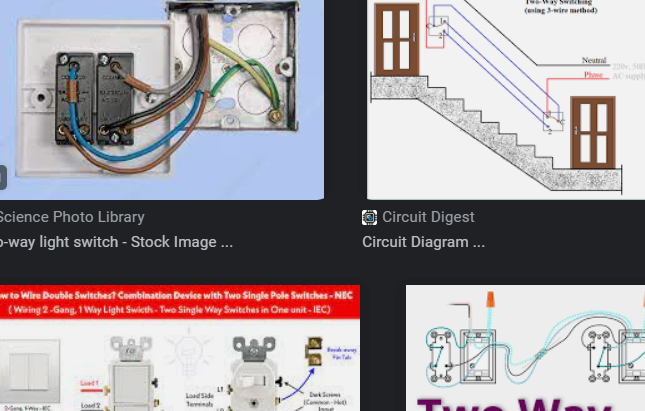
Wiring a two-way light switch with a double switch can seem like a daunting task, but with the right tools and a bit of knowledge, it can be done easily. A two-way light switch is a type of switch that allows you to control a single light fixture from two different locations. A double switch, on the other hand, is a switch that controls two separate fixtures or circuits. In this article, we will walk you through the process of wiring a two-way light switch with a double switch.
Step 1: Turn off the Power
Before starting any electrical work, it is essential to turn off the power to the circuit you will be working on. Go to your circuit breaker and flip off the switch that controls the power to the light fixture. This will ensure that you do not get shocked while working on the wiring.
Step 2: Remove the Old Switch
Once you have turned off the power, you can remove the old switch. This can be done by removing the screws that hold the switch in place and gently pulling it out of the wall. Be careful not to touch any of the wires while removing the old switch.
Step 3: Prepare the Wires
After removing the old switch, you will need to prepare the wires for the new switch. Start by stripping the ends of the wires using wire strippers. You will need to strip about ¾ inch of insulation off each wire.
Step 4: Connect the Wires to the New Switch
The next step is to connect the wires to the new switch. Start by connecting the ground wire to the green screw on the switch. Next, connect the black wire from the circuit to the top screw on the switch. Finally, connect the black wire that leads to the light fixture to the bottom screw on the switch.
Step 5: Connect the Second Switch
If you are wiring a two-way light switch with a double switch, you will need to connect the second switch as well. This is done by connecting the ground wire to the green screw on the switch, the black wire from the circuit to the top screw, and the black wire that leads to the second light fixture to the bottom screw.
Step 6: Secure the Switches a
nd Turn on the Power After connecting the switches, you can secure them back into the wall using the screws that came with the switch. Once the switches are securely in place, turn the power back on at the circuit breaker. Test the switches to make sure they are working correctly.